No products in the cart yet. Keep shopping.
Growing a Great Lawn
When cared for properly, the lawn can become the highlight of any garden and make your neighbours green with envy! A secret to any healthy lawn...

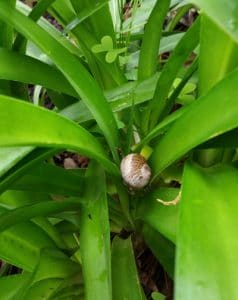
Well. What can I say. SNAILS! Blasted things. They ate my Globe Artichoke, Bergamot, Lemon Verbena, Hyssop and Horseradish. Gone. The lot of them. The Borage survived – and it’s growing incredibly well but I discovered numerous snails hiding in the Agapanthas which were relocated to the green bin (the snails that is). Lesson learnt – don’t be lazy and get ALL of the Agapanthas out!
So it’s with a somewhat heavy heart that I made my monthly foray into the garden. The veggie patch has been doing OK. The snails have been enjoying a buffet in here as well, but at least the spring onions and parsley are doing well. The purple broccoli is hanging in there, as is the silverbeet. So a top up in here with spinach will hopefully fill some of the blank spaces.
During the month I also bought a rhubarb crown to put into last month“s garden bed, but my sweet husband thought that it was strange I was keeping a bag of dirt in the kitchen and composted it. Needless to say, I don“t keep bags of dirt or anything else garden related in the kitchen any more!
I also covered the veggie patch with a couple of bags of Forest Mulch. It made it look much nicer as the Soursobs were becoming more featured than the veggies. But my main task this month was to learn how to make soil blocks and get a few more seeds germinating.
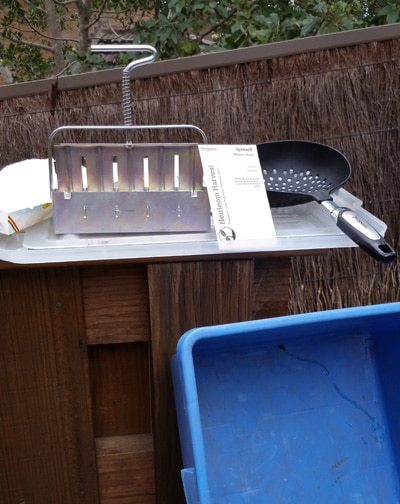
Making little blocks of soil, a fun activity to do when it“s wet, but also a terrific way to plant and nurture your seeds. Soil blockers are a tool used to make self-supporting blocks of compressed soil which are used to propagate seeds without the need for plastic pots. The nice folks at Heirloom Harvest sell these on their website. I used the Soil Blocker Mini 5 as this size is suitable for most seeds.
The reason I thought I would try the soil blocker was because I didn“t have the time to save another 4 dozen egg shells (see part 1) and I wasn“t sure the little biodegradable pots you can buy at garden centres would degrade quickly enough. So when I was chatting with Tara from Heirloom Harvest she suggested giving the soil blocker a try. She told me that not only do they reduce the use of plastics, they are also better for the plants themselves. This is because the soil blocks have air spaces on every side, air pruning roots as they reach the edge of the soil block instead of running around the plastic barrier causing root binding. Air pruned roots pause their growth until the seedling is planted in the soil, where they are ready to grow out into their new locations without any of the root disturbance usually associated with transplanting seedlings.
So with some trepidation, I set out for a crafternoon in the garden.
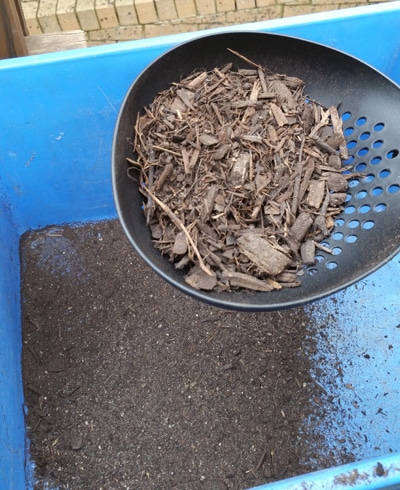
I needed a 5mm sieve which I found at my local supermarket, a tub or bucket to mix the media with
water and a tray to put the finished soil blocks on. I also used a 1L milk carton cut in half as a tray seeing as I had it lying around.
I used Jeffries Veggie & Garden Soil and put it through the 5mm sieve. What went through the sieve was a light mix of compost and a secret blend (so the folks at Jeffries tell me) and what was left in the sieve I put on the garden as mulch. Then I added water. I think I added too much water, but when it came to putting it in the soil blocker, I squeezed some of the excess water out.
Then I made perfect little blocks of soil that filled my heart with rainbows and sunshine. I had new hope for these little beauties that would eventually be cast out into the snail gauntlet that is the veggie patch.
Once pressed out and looking lovely, I sprinkled a couple of seeds per block of corriander (all previous corriander seedlings eaten by snails), rocket (all previous rocket seedlings eaten by snails) and spinach (all previous spinach seedlings eaten by snails) — there seems to be a theme here . . .
A light dusting of the soil blocker mix to cover the seeds and a sprinkle of water was all that was left to do.
Soil blocking was really fun. And I have great hopes for planting these seedlings out. I“m sure if I remember to water them they will do very well.
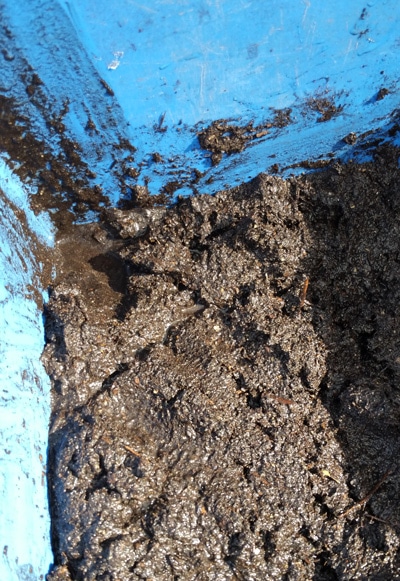
A little too wet — but it ended up working just fine
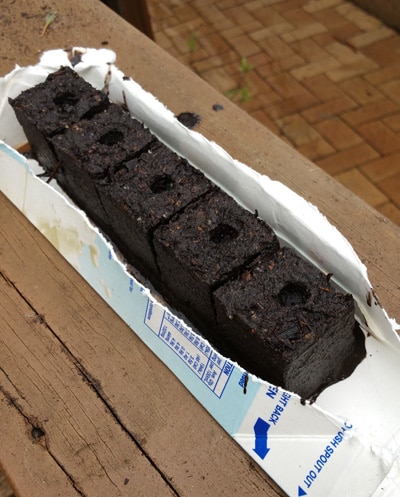
This seemed like the perfect use of an old milk carton
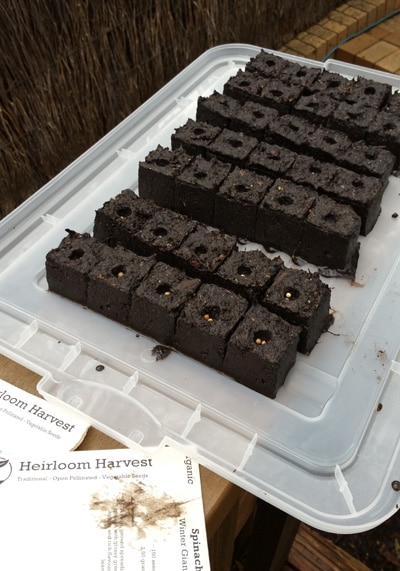
Aren’t they lovely!
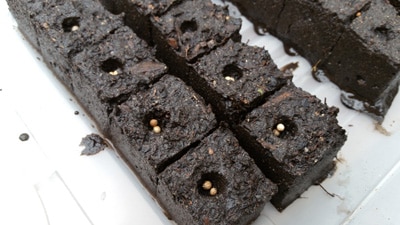
Bit wet bit will hopefully do the job.
I just need to remember to water them!
Operation Veggie Patch
Starting with seeds – Operation Veggie Patch – Part 1
Getting the soil right – Operation Veggie Patch – Part 2
Project 2 – Insect attracting plants (aka can not plant chillies this time of year)
Project 4 – Fruit trees — the snails are dead and the possum buffet is in
Project 5 — Growing a medicinal garden
Project 6 — Can we grow a banana tree & don“t forget the sheep liver!
When cared for properly, the lawn can become the highlight of any garden and make your neighbours green with envy! A secret to any healthy lawn...
Growing indoor plants is the perfect solution if you lack the room for an outside garden or just wish to bring natural beauty inside. Even while not...
It's the ideal time to head outside and begin creating the Spring garden of your dreams now that the dark, gloomy winter days are behind us and the...